
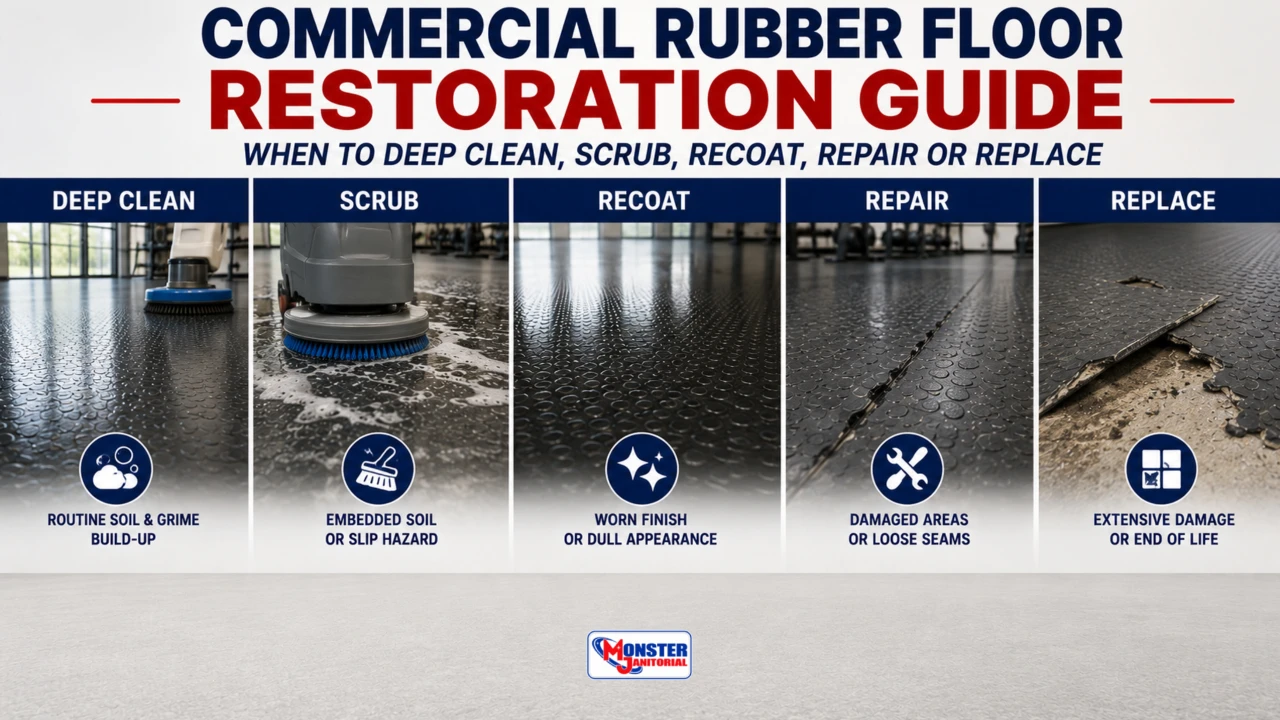
Commercial Rubber Floor Restoration Guide: When to Deep Clean, Scrub, Recoat, Repair or Replace
A worn-looking rubber floor does not automatically need replacement.
The correct restoration level depends on whether the problem is removable contamination, surface buildup, a worn approved coating, localized physical damage, adhesive failure, or widespread deterioration.
How Do You Know Whether to Clean, Repair or Replace Rubber Flooring?
Start by cleaning and inspecting a small test area. If the problem improves significantly, the floor may need deep cleaning or controlled restorative scrubbing. If a manufacturer-approved coating is worn but the rubber remains intact, recoating may be possible. Cuts, loose seams, damaged tiles, or isolated delamination may require repair. Widespread cracking, deterioration, adhesive failure, or material breakdown can make replacement the more practical option.
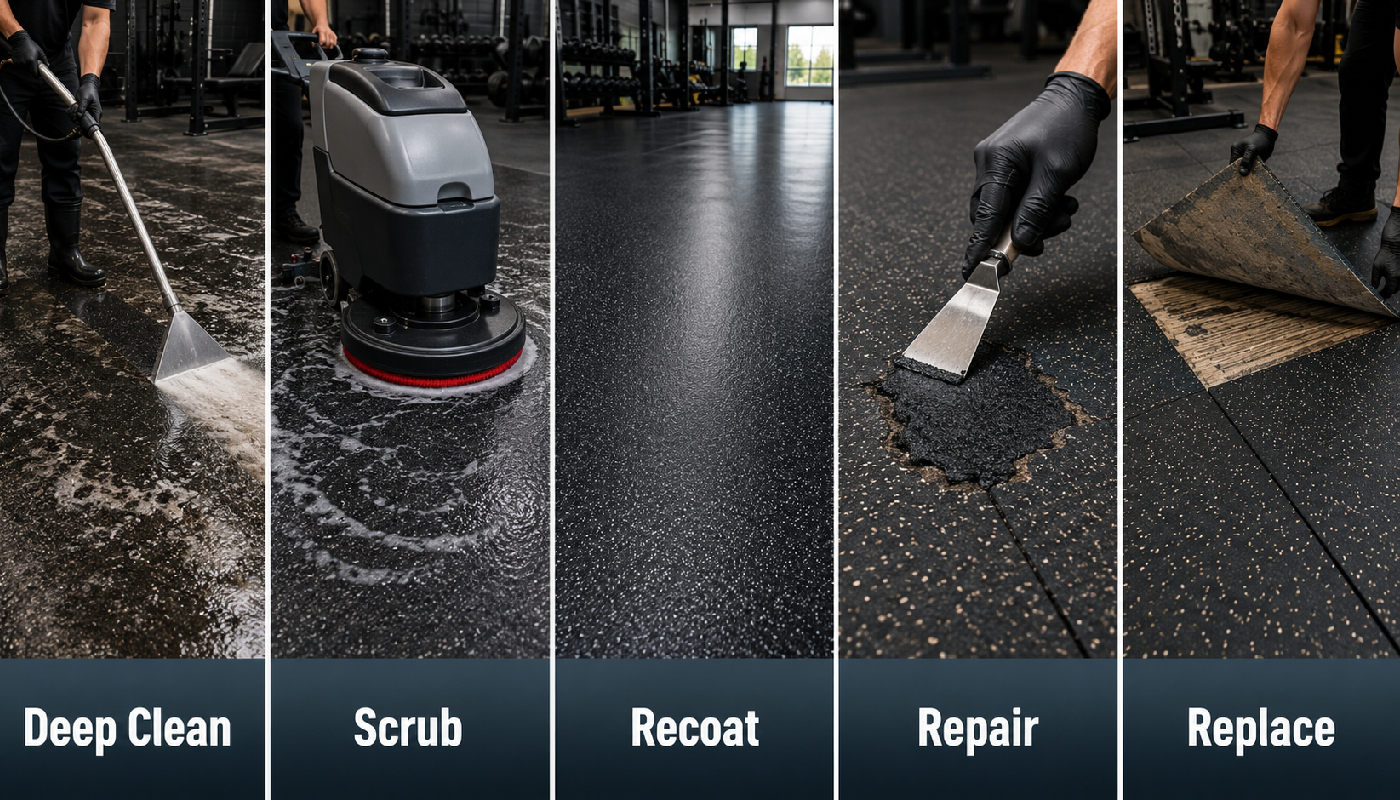
Rubber-floor restoration can range from cleaning and controlled scrubbing to an approved recoat, localized repair, or full replacement.
7 Things to Check Before Restoring a Rubber Floor
Inspect the floor before choosing a more aggressive restoration method.
Clean a Small Test Area Before Assuming the Floor Is Damaged
Dullness, haze, sticky areas, dark traffic lanes, black marks, and uneven appearance can sometimes be caused by removable contamination rather than deterioration.
Choose a representative area and clean it using compatible chemistry and appropriate agitation. Compare the cleaned test area with the surrounding floor.
Rubber Floor Problem Guide →What Did the Test Area Reveal?
When Deep Cleaning Is Enough
Deep cleaning is usually the first restoration step when the rubber itself is intact and the problem is primarily contamination.
- Embedded traffic soil
- Grease or body oils
- Cleaner residue
- Sticky buildup
- Dirty textured or studded surfaces
- Appearance loss that improves substantially during test cleaning
When More Mechanical Scrubbing Is Needed
Some floors are structurally sound but have buildup that routine cleaning does not remove.
Controlled restorative scrubbing may involve a low-speed floor machine, disc scrubber, cylindrical scrubber, or compatible brush system depending on the floor profile.
Use the least aggressive compatible brush or pad that performs the work. Aggressive agitation can alter rubber surfaces or existing coatings.
Match the Tool to the Surface Profile
Flat pads, brushes, and cylindrical scrubbers make contact differently on smooth, textured, and studded rubber flooring.
Rubber Floor Equipment Guide →Inspect the Rubber Material After Cleaning
Once soil and residue are removed, inspect the actual flooring instead of judging it through contamination.
- Cracking
- Cuts or gouges
- Crumbling or brittle material
- Worn-through surface areas
- Permanent deformation
- Material deterioration that remains after cleaning
Check Seams, Edges and Adhesion
Floor failure often becomes visible first around joints, edges, transitions, and seams.
- Loose or opening seams
- Curling edges
- Lifted rubber tiles
- Areas that move under pressure
- Visible adhesive failure
- Repeated repairs in the same area
When Recoating May Be Appropriate
Recoating is only appropriate when the floor has an approved coating or surface-treatment system and the rubber underneath remains serviceable.
Do Not Apply Conventional Floor Finish Without Verification
Many rubber flooring systems are designed to be maintained without conventional floor finish. An incompatible coating can create adhesion problems, uneven wear, tackiness, or additional maintenance problems.

An intact floor with a worn approved surface treatment may be a recoat candidate, localized physical damage may be repairable, and widespread failure may justify replacement.
When Localized Repair Makes Sense
Repair is most practical when damage is limited and the surrounding flooring is still serviceable.
- Individual damaged tiles
- Small cuts or gouges
- Localized seam failure
- Isolated delamination
- Small worn-through areas
- Localized adhesive or substrate problems that can be corrected
Is a Repair Actually Practical?
When Replacement Becomes the Better Option
Replacement becomes more likely when deterioration is widespread enough that repeated cleaning and isolated repairs no longer provide a durable solution.
- Widespread cracking or crumbling
- Large areas of delamination
- Extensive seam failure
- Large areas worn through the flooring material
- Severe material deterioration
- Repeated failures caused by unresolved substrate conditions
- Repair costs approaching or exceeding the practical value of replacement
Repeated Failure Can Indicate a Subfloor or Adhesive Problem
If the same area continues to lift, separate, or fail, the rubber itself may not be the root cause.
- Moisture conditions
- Adhesive failure
- Substrate damage
- Movement or cracking below the floor
- Installation-related problems
How Much of the Floor Is Actually Failing?
Which Restoration Level Fits the Floor?
Deep clean.
Evaluate controlled restorative scrubbing.
Evaluate the manufacturer's recoat procedure.
Evaluate localized repair.
Evaluate replacement and investigate the underlying cause.
Rubber Floor Restoration Mistakes to Avoid
- Replacing a floor before removing soil and residue.
- Trying to scrub away cuts, gouges, or delamination.
- Increasing pad aggression without identifying the problem.
- Applying standard floor finish without manufacturer approval.
- Recoating over contamination.
- Ignoring loose seams or adhesive failure.
- Repairing the surface without correcting moisture or substrate problems.
- Assuming all rubber flooring products use the same restoration system.
Continue Learning About Commercial Rubber Floors
How to Identify Commercial Rubber Flooring Before Cleaning
Identify sheet rubber, rubber tile, smooth, textured, studded, recycled, coated, and uncoated flooring.
Read Identification Guide →Best Cleaning Chemicals for Commercial Rubber Floors
Compare routine, low-foam, degreasing, and odor-control chemistry.
Read Chemical Guide →Auto Scrubbers, Floor Machines, Brushes & Pads for Commercial Rubber Floors
Match the machine and floor-contact tool to the rubber surface.
Read Equipment Guide →How to Deep Clean Commercial Rubber Floors
Remove embedded soil using compatible chemistry, agitation, and recovery.
Read Deep Cleaning Guide →Commercial Rubber Floor Problems
Diagnose dullness, haze, streaks, marks, odors, stickiness, wear, and damage.
Read Troubleshooting Guide →Commercial Rubber Floor Restoration Guide
Current Guide
Complete Commercial Rubber Floor Cleaning & Maintenance Guide
Use the complete guide for identification, chemistry, equipment, deep cleaning, troubleshooting, restoration, and maintenance.
Read Complete Guide →Commercial Rubber Floor Restoration FAQs
Can an old rubber floor be restored instead of replaced?
Sometimes. Floors with removable contamination, residue, or limited surface wear may respond well to cleaning or an approved restoration procedure. Severe physical or material failure may require repair or replacement.
Can commercial rubber flooring be recoated?
Only when the flooring manufacturer permits a compatible coating or surface-treatment system and the underlying rubber remains suitable for recoating.
Can damaged rubber flooring be repaired?
Some localized damage may be repairable depending on the floor construction, extent of damage, adhesive condition, availability of replacement material, and manufacturer repair procedures.
How do you know when rubber flooring needs replacement?
Widespread cracking, deterioration, delamination, material loss, recurring structural failure, or extensive damaged areas can make replacement more practical than continued localized repair.
Should you deep clean before deciding to replace the floor?
When the floor is structurally safe enough to clean, removing soil and residue can make the actual material condition easier to evaluate.
Need Help Evaluating a Commercial Rubber Floor?
Monster Janitorial can help you compare cleaning chemistry, auto scrubbers, floor machines, brushes, pads, and restoration equipment before you decide how aggressively to treat the floor.
Tax-exempt purchasing and purchase-order support are available for qualifying schools, universities, government agencies, healthcare facilities, municipalities, and other institutional customers.