
Burnishing is one of the most effective ways to restore gloss, improve floor appearance, and extend the life of VCT floor finish.
When performed correctly, burnishing helps commercial facilities maintain cleaner, brighter, and more professional-looking floors while reducing the need for frequent recoating.
This guide explains how to properly burnish VCT floors, avoid common mistakes, and achieve better gloss results.
What Is VCT Floor Burnishing?
Burnishing is a floor maintenance process that uses a high speed or ultra high speed floor machine to polish and restore shine to finished VCT flooring.
The process creates friction that smooths the floor finish surface, increasing light reflectivity and improving overall appearance.
Unlike stripping or recoating, burnishing is considered a maintenance procedure rather than a restoration procedure.
Before You Begin
- Inspect floor finish condition
- Remove loose dirt and debris
- Select the correct burnishing pad
- Verify machine speed
- Confirm floor is completely dry
- Use proper safety signage
Step 1: Dust Mop the Floor
Remove dust, dirt, sand, and debris before burnishing.
Dirt left on the floor can scratch the finish and reduce gloss development.
Step 2: Clean the Floor if Necessary
If the floor contains soil, scuff marks, or residue, clean it before burnishing.
Auto scrubbing often produces significantly better burnishing results.
Step 3: Choose the Correct Burnishing Pad
The burnishing pad directly impacts gloss levels.
- Higher gloss pads produce stronger shine
- Worn pads reduce performance
- Pad selection should match machine speed
Shop Burnishing Pads & Floor Pads – Browse burnishing pads, polishing pads, scrubbing pads, stripping pads, diamond floor pads, and floor machine accessories for commercial floor maintenance programs.
TASKI Twister Diamond Floor Pad System Guide - Programs, Pad Colors, and Floor Types
Diamond Floor Pads - How They Work and the TASKI Twister System Explained
How to Choose the Right Floor Pads for Scrubbers, Floor Machines, and Burnishers
Step 4: Burnish at a Consistent Pace
Walk at a steady speed and overlap passes slightly.
Moving too quickly can reduce gloss and create uneven appearance.
Step 5: Inspect Results
Check gloss levels and floor appearance before putting the area back into service.
If shine is inconsistent, additional passes may be necessary.
Step 6: Dust Mop After Burnishing
Burnishing can create fine dust.
Dust mopping after burnishing helps maximize gloss and improve final appearance.
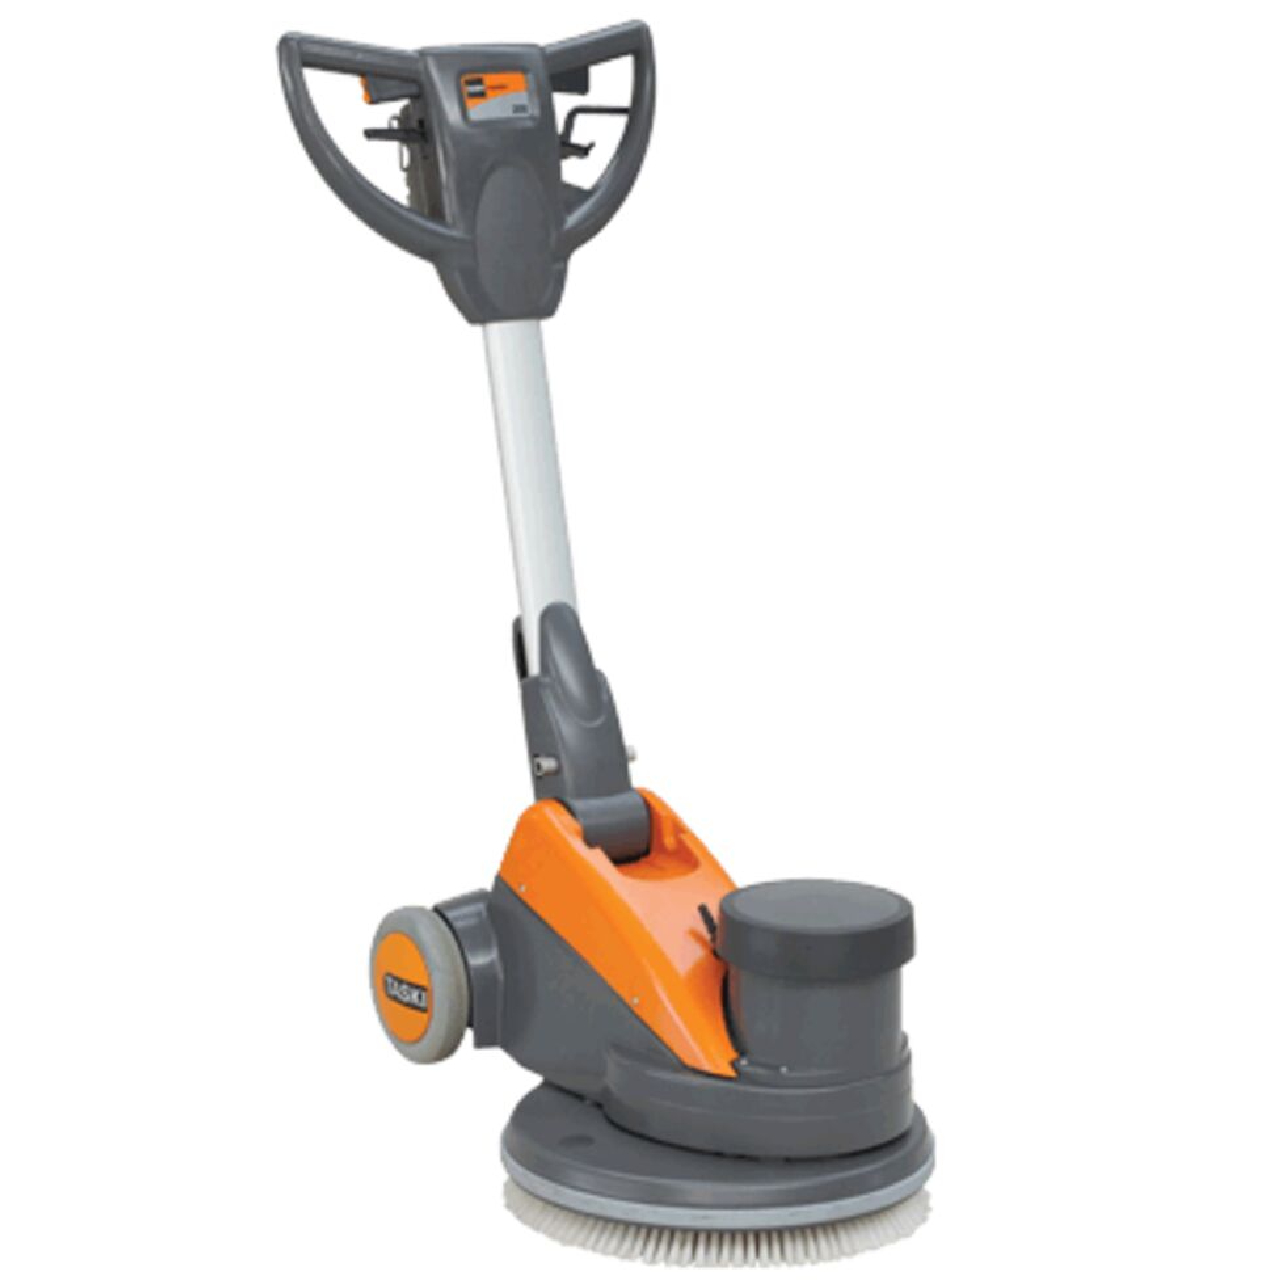
Recommended TASKI Burnishers & Floor Machines
Recommended TASKI Burnishers & Floor Machines
Commercial Buffing & Burnishing Equipment
These TASKI commercial floor machines support spray buffing, gloss restoration, reflective floor maintenance, and high-speed burnishing programs.
Low Speed Buffing Machines
Designed for spray buffing, light polishing, scrubbing, and routine floor maintenance.
Final Thoughts
Successful VCT floor burnishing depends on more than just running a burnisher across the floor.
For the best gloss results, facilities should focus on five key areas:
- Clean floors before burnishing to remove dust, grit, and soil.
- Correct pad selection based on the floor finish and desired gloss level.
- Correct machine speed for the facility’s floor care program.
- Consistent burnishing procedure with steady passes and proper overlap.
- Regular maintenance schedule to keep floors looking clean, bright, and professional.
When these steps are followed consistently, VCT floors are easier to maintain, gloss levels improve, and the floor finish lasts longer between recoating or restoration cycles.